Casting a freeway interchange

Art, Atoms

If you live in LA, you probably are familiar with huge freeway interchanges. It’s an impressive network of forming a big knot that somehow channels various streams in all the possible ways. It has huge curves sweeping above and below the main wide arteries. Anyway, they are cool. My favorite is where the 110 and 105 interchange and I’ve been mulling over making a cement casting of it for a while now. It starts with grabbing 3D data from the interwebs and turning it into a functional model.

Once the data is prepped, I prepare it for 3D printing. I want the final piece to be 26 inches wide which is wider than any printer I could get my hands on so I break it up in tiles and run some tests.
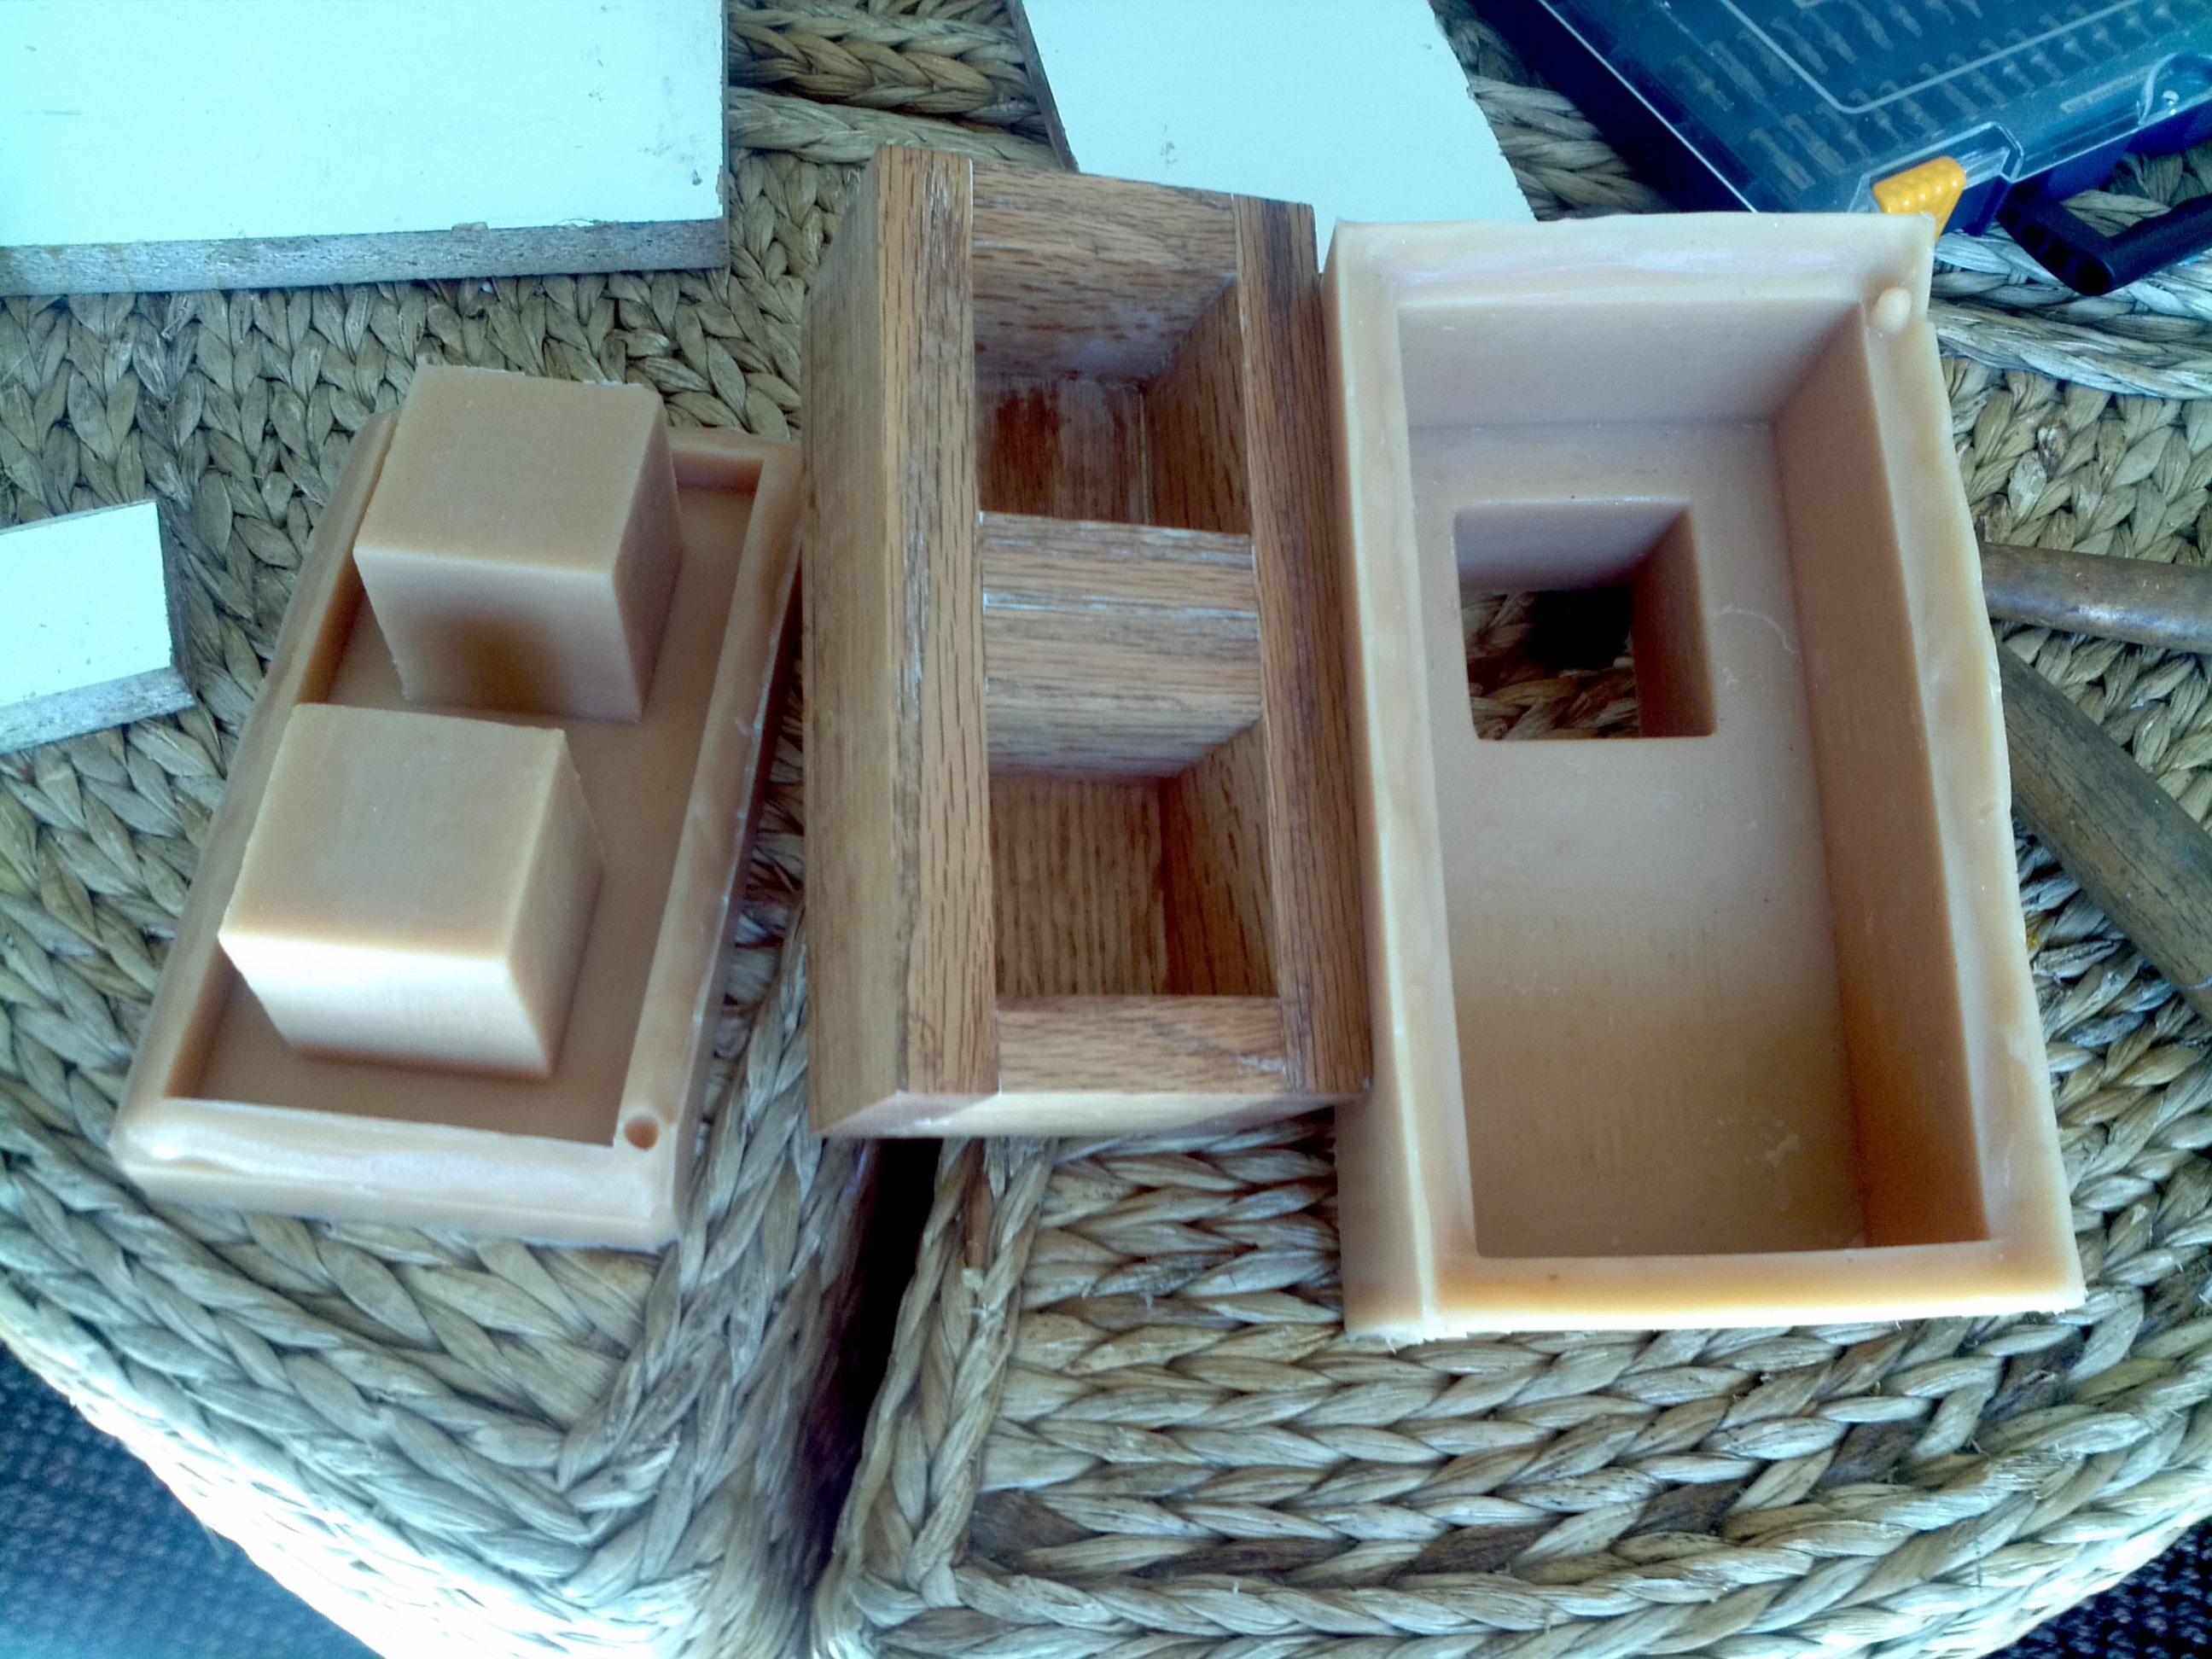
Next step is to figure out the process of making the mold. There two options but the first step for each is the same: glue the tiles back together (there will be 16 of them) and use bondo, sand paper to smooth out all the irregularities, and spray paint some urethane to smooth over the result. The question is: should I make the urethane mold directly from the positive 3D prints, or should I create a positive plaster intermediate I can tweak and further polish, and make a mold out of that? If I go with the plaster, I worry that the brittle nature of the plaster and the rigidity of PLA filament will cause the small details to break as I release the plaster image from the 3D print. If I pour the mold directly on the 3D print, I worry that the tell tale 3D print lines will be captured by the mold and that I will not have had the chance to polish it with the control a plaster intermediate would give.

So, next step is to test both approaches on my two test prints, and also test printing a tile with PETG filament which I hear is more flexible. If you have any recommendations, I’m all ears…

I’m a pot dealer in Venice Beach

Art, Atoms

These pots, or ones that look like it, are available for sale, ranging from $30 to $100. I hand polish them myself to a nice smooth finish with a cement grinder that reveals the pattern of the aggregate, and for the amount of labor I put in them, I really can’t afford to have you buy them, but hey: my house can only accommodate so many of them so I have to somehow get rid of them. I do not have a store set up but leave a message or email me and I’m sure we can figure out something.

Cement, Succulents, and The Bliss of Stacking Stuff That’s Heavy

Art, Atoms

I can relate to the fundamental urge that stirred people to build Stonehenge. Also, I read somewhere that tiling has spiritual meaning in Islamic art because it allows the artist and the viewer to peer into infinity from a simple set of shapes and rules. As for me, these days, I am into designing stackable cement succulent pots. Putting things together, creating form, transforming space, exploring patterns and discovering shapes… The kind of play this website advocates is a sacred activity. No doubt in my mind…

Anyway, check out my latest project:

The Concept

It all starts with a unit.

1x1_0

And then, there were two.

1x2_00

Any builder worth his salt will need stacking pieces.

And so now, we start composing shapes.

example_1

Going up.

example_2

Playing with possibilities.

example_2

The Application

Since they have holes, you can put stuff in them.

You can make many combinations with just a few pieces.

Playtime!!!
1x1_grass

The Buy Some

Why should I be the only one able to have fun around here? I know you can wait to get your paws on a few of these bad boys.

Well, lucky for you, a couple of local stores have agreed to spread the joy of succulent care and cool home made cement pots to our eager community and are making them available for purchase.

In Los Feliz:
http://www.pottedstore.com

On Abbott Kinney:
http://www.thejuicyleaf.com/

On the web at Etsy:
https://www.etsy.com/shop/RelentlessPlay

Act now! Supplies are limited! Since they’re a pain in the ass to make and I’ll be working super long weeks all summer at my other job, I won’t be cranking out many of these. It actually gives you the opportunity to be the only one on your block with one. Think of how envious your friends and neighbors will be when they find out there are no more left to buy!!!

The Making Of

I built the main pot shapes out of 1×3 oak lumber cut and glued together to make the shape.

blockpot_howto_01

Next, I built a box around the master shape


and made a mold out of rubber.

Here is the original shape and the mold.

blockpot_howto_04
All that is left to do is put the empty mold back into the box it was poured in, put some cement in and wait a couple of days…

blockpot_howto_05

There it is. It’s that simple…

Or is it? In fact, I learned quite a few things through the many mistakes I made along the way. First, the mold I document here actually has a major flaw in that it creates a visible seam along the main face of the pot. I ended up having to take a new approach and pour a new mold that had its seam located just around the bottom edge of the pot. Figuring out how to build the box and the process to take to get the two rubber pieces to come out the way they did involved a lot of visualizing 3 dimensional positive and negative shapes. Also, I made the box out of melamine which was yet another mistake because it has sucked up moisture and gotten warped. I think I will make a mother mold out of plaster for these at some point. Also, it can be pretty hard to get the cast out of the mold, specially the big rubber squares that end up shaping the holes. I need to find a way to make it easier, and while I’m at it, to make it so I can pour 10 pots at once rather than just one.

Epilog

Here it is, at home.
1x1_grass